By Kristin Ashley
Media Lab Assistant & Technology Instructor
Like many of you, I have shoe boxes and flash drives and hard drives filled with my photos. I am also a nature photographer, and I take a lot of family and friends-type of photos. So, as you can imagine, that is a lot of photos!
With New Year’s resolutions just around the corner, organizing photos is at the top of my list. I’d like to share some of my ideas about storing, archiving and organizing photos. First of all, I decided to organize the past year of photos and work backwards. I find that that makes the task less daunting.
As I reviewed the many holiday newsletters I received, however, and thought about creating my own 2020 newsletter, I was struck by how few photos I took this past year! Sheltering in place has really limited the events that normally fill out the “news of the year.” In 2019, for example, I had lots of nature photos from all the trips we took to see the bird migrations. There were also no concert photos, a common source of images as my partner is a musician. Actually, there were no “people” pictures at all aside from myself and my partner, Jim! There were no family reunions, no weddings, no vacations. This year, all of my photos seem to be of my home and my backyard.
Although the lesson learned from “The Wizard of Oz” is that adventure is best found right in your own backyard, I beg to differ as I review the scant photo archives from this year! They certainly aren’t very adventurous. Besides a few beautiful images of the lake and the ravines in my neighborhood, photos of my deck and some of the delicious al fresco meals I prepared for the two of us, most of my 2020 seem to be...critters like squirrels and chipmunks, and a few random cardinals and sparrows.
There are some cute critter photos like the one where the squirrels got so tame and used to my being at home that one frequently stretched out and fell asleep in the sun on the railing. Or when the critters perched on the railing to listen to Jim’s hammer dulcimer–squirrels with paws politely folded on white bellies and sparrows wondering about this strange birdsong! We called them “the peanut gallery.” Other memorable photos included some closeups of sunsets, the moon, the lakefront near my house, all reflecting how much time I spent in nature this past year, even if it was all local.

So, one of the advantages was that there were fewer photos to organize. Another thing in my favor is that by working remotely, I did have more time to sort and organize my years of photos. The following includes some of the tips I want to share with you.
Scanning
Prior to scanning, you’ll want to sort your images. For example, I scanned the favorites from a few shoeboxes of prints, and then threw most of them out after scanning. You may consider keeping a handful of favorites from each person or event per year in case you need actual photo prints for a birthday or anniversary poster, for example.
The Lake Forest Library Media Lab has a scanner that scans multiple images at once (four 4x6 photos at a time, for example). You can also scan up to 12 slides at a time! When we are open to the public once again, you can make an appointment to use the scanner with assistance from myself or my colleague, Patrick. In the meantime, if you own a scanner, you can scan and digitize your images one at a time at home. (See my notes below about naming and storing folders and individual images.)
Archiving Chronologically or By Subject Matter?
As I mentioned, I often work in a backwards chronological fashion, archiving the photos from the past few years before moving back in time. Otherwise, it gets pretty daunting seeing all those years stretched out ahead of you and all the scanning and organizing it entails!
Of course, if your goal is to memorialize your family events or a recent vacation in a Shutterfly book or scrapbook, you may need to start with the oldest photos in the archives. I usually suggest setting aside about 20-50 images to work on during one sitting.
Naming Folders and Files
As you are scanning and organizing photos, keep in mind that you don’t have to name each separate image. That would take forever! Instead, I often name my subfolders with keywords as to date, location or subject. You may want to consider naming each image with a family name, a year and a number (001, 002, etc.) Then, you can name the folders and sub-folders more specifically and go from there. For example, I may have a main folder that is labeled “2020” and sub folders within that include “squirrels,” “lakefront,” and “special meals.” You get the idea!
Another tip I’ve found to be handy is to keep a separate Word file in each of your folders, like a key. This Word file can include the name of each folder, subfolder and specific image with notes that include names, dates, events, occasions or other information about the image. I find this to be especially helpful with older family photos where names may be forgotten over time, or for group photos like a family reunion.
I also placed a “star” on each image I thought needed retouching or made a note of it in my corresponding Word files for each folder.
Sorting and Purging Photos
Going through my old photos was very freeing as I was able to “Marie Kondo” whole batches and keep only the ones that gave me joy! I filtered out blurred shots, “thumb” photo bombs, deeply shadowed picnic shots at high noon, and the outtakes from every birthday, holiday or memorable occasion that ever occurred in my family. I then placed every digital photo in folders according to either artwork or personal subjects, then further divided those into sections of years/months of events, people or artwork.
Storage and Archiving
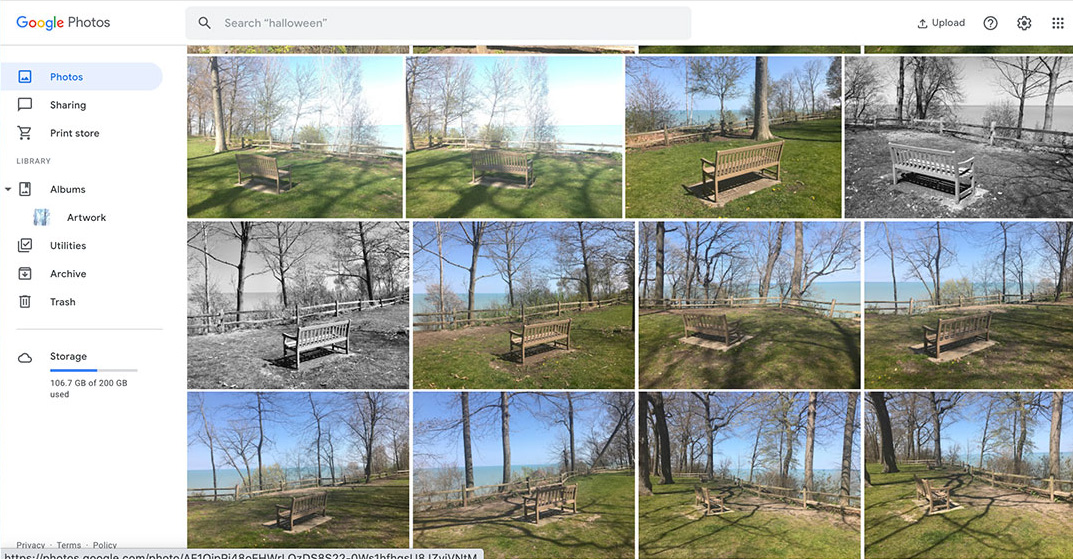
Cloud-based services like Google Photos allow you to create albums. (See my Google Photos blog post). I often name my subfolders with keywords for their date, location or subject. This makes them searchable and easy to find. Google Photos also has facial recognition–even with pets! And finally, all the photos you take from your phone or tablet can go directly into Google Photos as you take the photos. Best of all, you only need to set up this feature once.

For my own storage needs, I use both a Cloud-based storage (Google Photos) and one or more flash drives, memory cards or hard drives to keep all the images from filling up all my laptop storage. One thing to keep in mind for your storage needs are the various sizes of your images. A five-minute video may be as much as 300 MB and a large photo shot in “raw” can be 20 or 30 MB. For reference, there are 1,000 MB (megabytes) in 1 GB (gigabyte), and 1,000 GB in 1 TB (terabyte).
Here are some of my suggestions on what you may want to consider for your storage needs:
- There are several Cloud-based storage items available. For Google Photos, for example, you get 15GB of storage space free then once that has reached its limit, the fees raise to different levels depending on whether your storage goals are personal or professional.
- Flash drives, which often hold up to 128GB, are a good option, and run from about $30 up. They are also small and easy to transport, like when you are on vacation.
- External hard drives, which run from about $50 up, can hold anywhere from 1TB (terabytes) up to 10TB and beyond (and they are priced accordingly!). However, I’ve never found I needed more than 1-2TB for each HD I own. 1TB will hold an awful lot of photos and videos. I also tend to keep several hard drives for specific groups of photos: one for nature photos, one for old family photos, and one for recent photo projects, for example.
We’d like to wish you a happy and healthy New Year. If you have any questions, I am available for email or one-hour Zoom consultations on Tuesday afternoons (or you can schedule one hour on Monday afternoons with Patrick). We look forward to seeing you in the Media Lab again once we are open to the public. In the meantime, keep in touch and send us an email at medialab@lakeforestlibrary.org with your technical questions. Happy New Year!